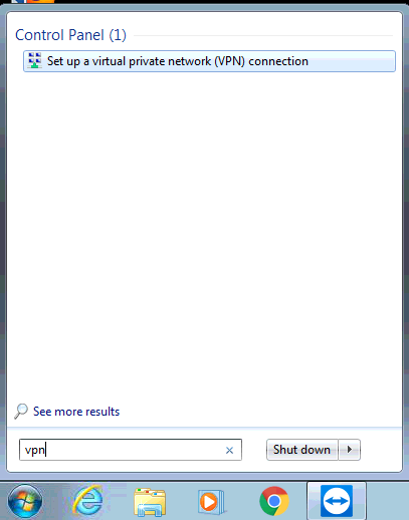
Step 1 – Create new VPN
- In Windows 7, go to start menu Type VPN, you should be able to see the short cut as screenshot.
- Click on the short cut to initiate next step
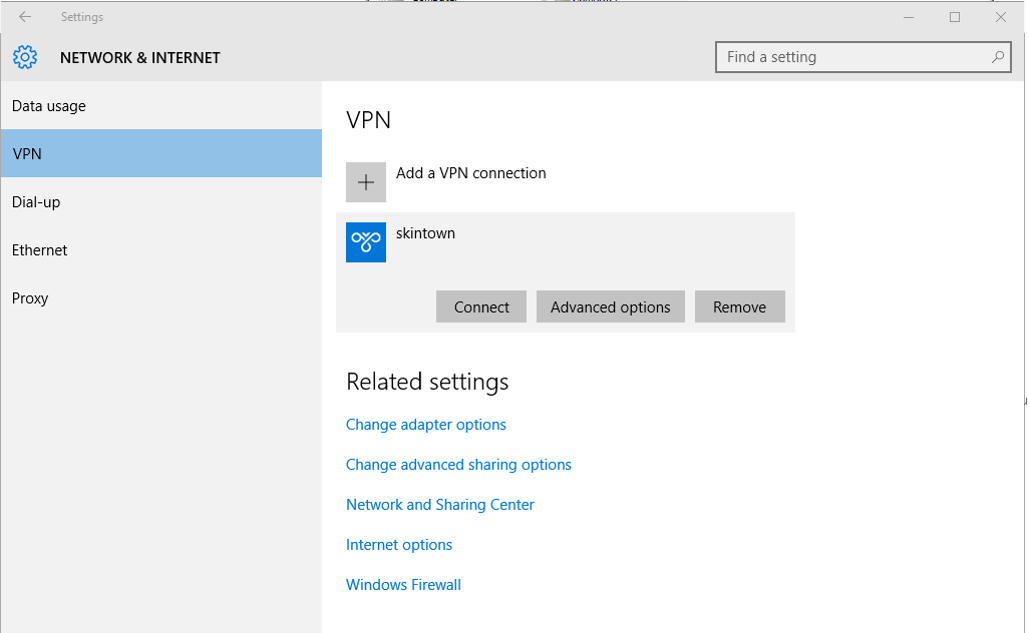
- For windows 10, go to windows setting, then click on VPN click add a VPN Connection
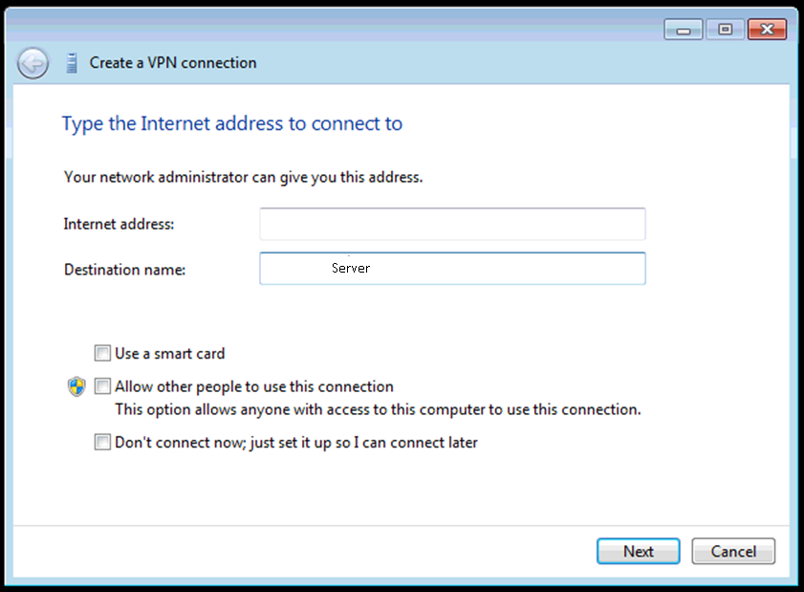
Above is Windows 7 VPN setup connection
Step 2 : Create New VPN
- Internet Address : this address will be provided to customer when private cloud server is requested
- Destination name is description. It can be CompanyABC Server. or any relevant description that outlet can understand
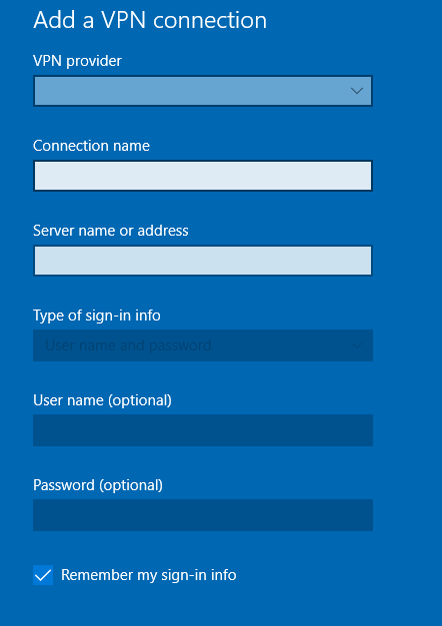
- For Windows 10 (blue color), the configuration will be same, VPN provider enter Windows (Built–in)
Step 3: Enter Username and Password
- Username: will be provided to customer
- Password: will be provided to customer
- Tick Remember this password
- Same for windows 10. Tick remember my sign-in info.


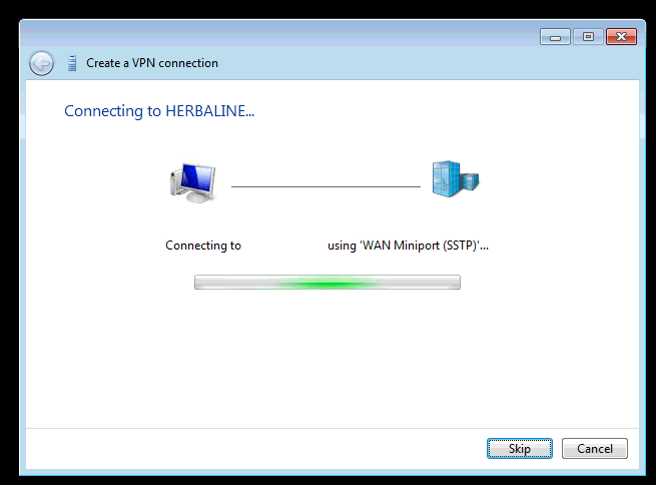
Step 4: Setting Up connection
- In Windows 7, just click skip for this step.
- In windows 10, this screen will not appear
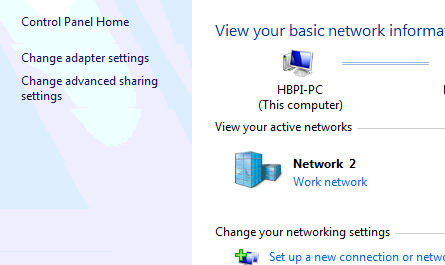
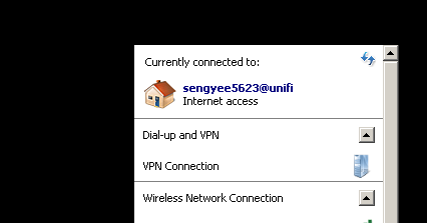
Step 5: Go to change adapters settings
- Go to bottom right of the screen, click the network connection
- Click open network and sharing center
- Then click change adapter settings
- In windows 10, go to bottom right of the screen, click network settings, then follow the same steps as windows 7
- The main objective is to reach the change adapter settings interface

Step 6: Change network adapter settings
- Right click on the newly created VPN connection. It should have same name as the description you entered previously in VPN creation
- Click Properties

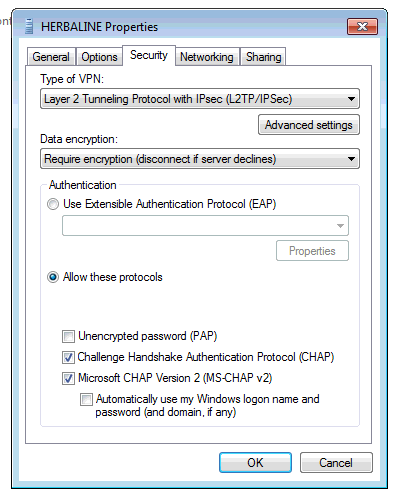
Step 7A: Security Option
- Click on Security Type as shown as screen
- Make sure to enable below:
- Allow these protocols:
- Challenge handshake Authentication Protocol (CHAP)
- Microsoft CHAP Version 2( MS-CHAP v2)
- For data encryption:
- Select optional encryption (connect even if no encryption)
- Allow these protocols:
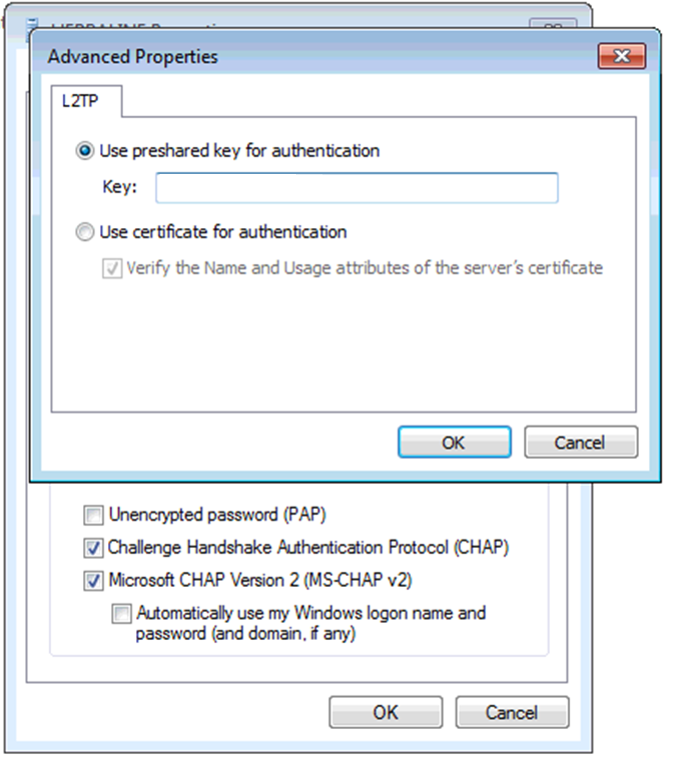
Step 7B: L2TP Pre-shared Key
- On Previous screen, click on Advance Settings under VPN Type option.
- On the advance properties as shown on screen shot, click Use Preshared key for authentication.
- The Key will be provided when subscribed for private cloud
- No space at front and back
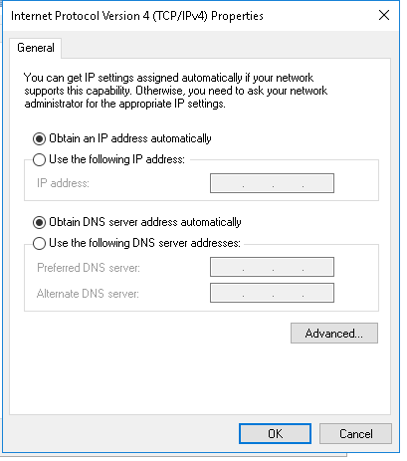
Step 7C: Networking Settings
- Click networking Tab
- Double Click on Internet Protocol Version 4 (TCP/IPv4)
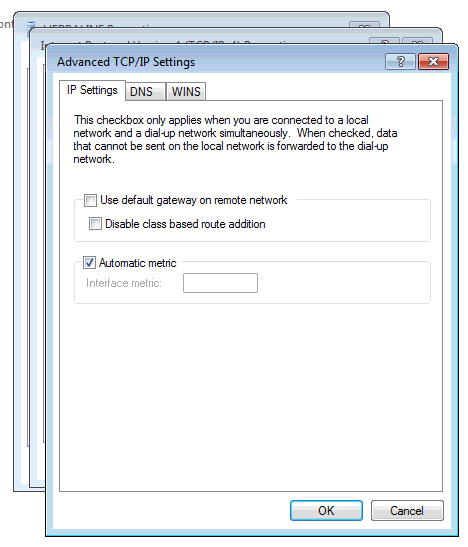
- Click Advance, on TCP/IPv4 Properties
- On the 3rd screen shot, advance TCP/IP Settings. Untick use default gateway on remote network
- *** If you skip this step, you can skip step 9 and 10 for configuring persistent route. But this , will route all the traffice into VPN server before contacting destination server. If branches computer that accessing this system has many other internet activity it is recommended to configure step 7C ,8 and 9 to avoid internet traffic congestion.

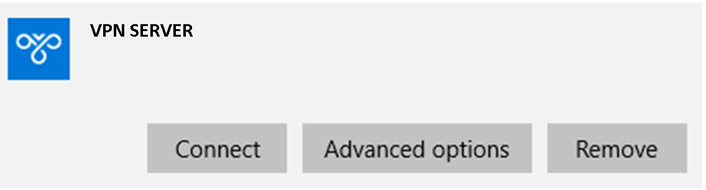
Step 8: Establish VPN Conection
- On Windows 7, go to right bottom then click network connection, it should have new VPN Connection/description you enter
- Click the VPN connection then connect
- On windows 10, it should be almost same steps but the interface is different. Click connect.
- Once connected is should show as below screen shot
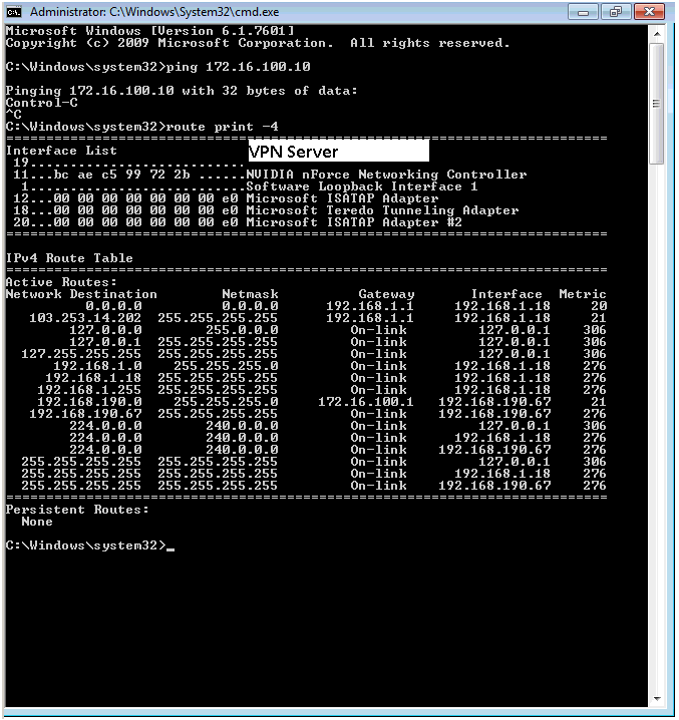
Step 9: Displaying Route
- ***This step is not required if Step 7C is skipped. But remember all traffic will be routed to VPN server
- Go to start menu , type CMD then type
- Route print -4 ,it should display the screenshot
- Look for the VPN connection in interface list
- On the screen shot the interface ID Is 19
- Remember that if you remove and create new VPN this step has to be done again.
- Disconnect and reconnect will not affect this
Step 10: Route Add
- Go to start menu, type cmd, right click on cmd to run as administrator. If you don’t run as administrator the route add command will fail
- Type in
- Route add {destination address} mask 255.255.255.0 0.0.0.0 metric 30 if 19 –p (destination address will be given when private Cloud server is subscribed)
- Very important** that the 19 is the interface ID, and –p will be persistent route. If you enter do not enter –p, when the connection is drop. This route will need to be added again.
- Once the route is added, type ping {server address}, it should ping to the VPN cloud server, but VPN must connect first
- Once the server can be ping, the VPN setup connection is properly configured and setup. Repeat all these steps on other PC.
- If step 7C is skipped, the ping should work the same without Step 9 and 10