STEP 1 : Click on Appointment Menu
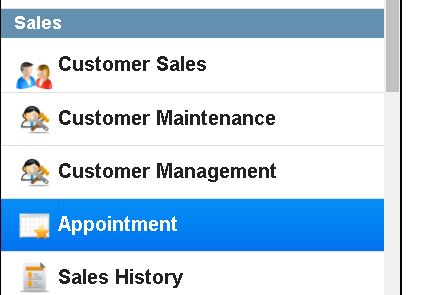
Click on Appointment menu which is under Sales module.
If you are not getting any pop up windows. Most probably there is a pop up blocker.
For Google Chrome users, please check the top right corner there will be any icon as illustrated above
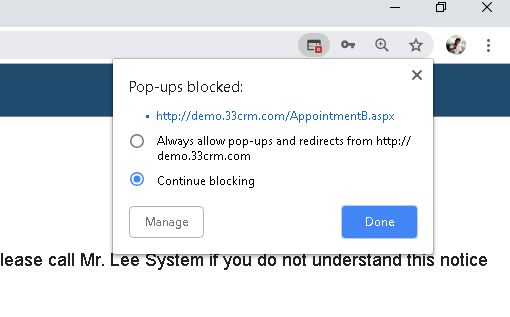
Click on the Icon, a popup windows as above will be displayed. Click Always allow pop-ups and redirects. In order to allow popup in the future from system
STEP 2: Appointment Interface
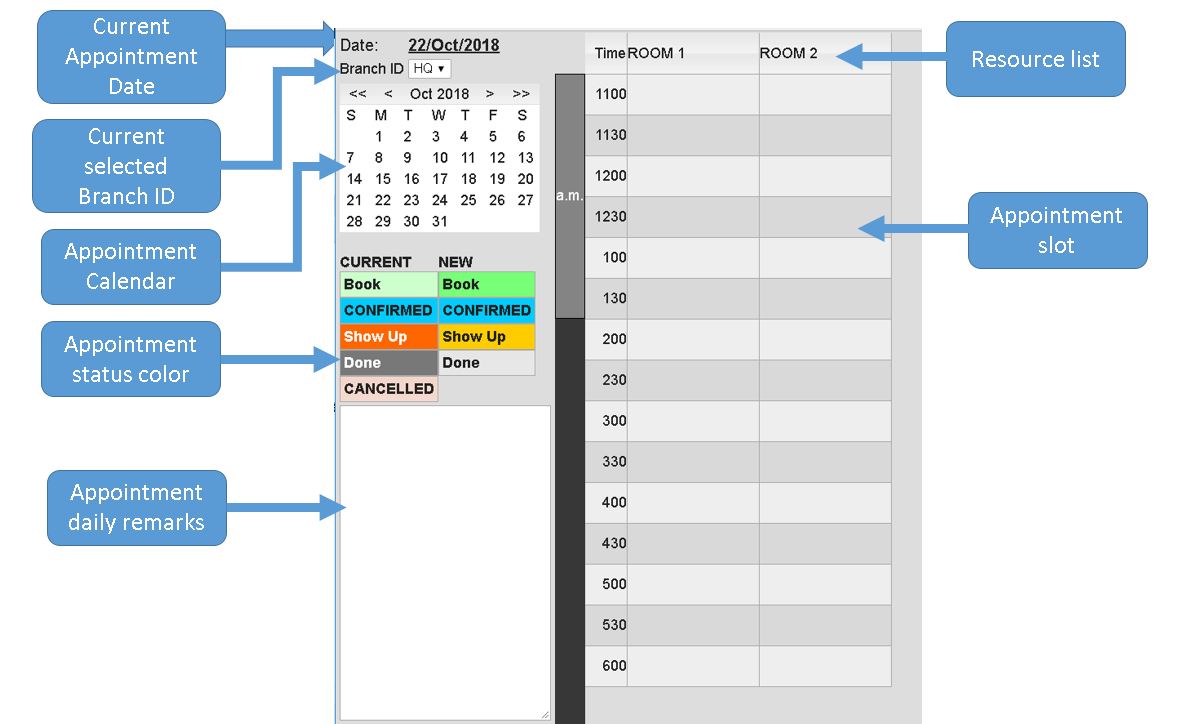
- Current Appointment is label/display for currently selected appointment date.
- Current selected branch ID is allowed when users are allowed to switch branches. If not this function will be disabled
- Appointment Calendar allows users to select appointment date for selected branch ID
- Appointment status color signifies the different color code for each appointment box (which will be illustrated later)
- Appointment daily remarks allows users to enter daily remarks regarding customer, appointment, absence of worker and other remarks. The remarks are save by daily and by branch ID basis. It doesn’t share with other branches
- Resource list basically are pre defined by system admin, you follow the tutorial here to change it. The resource list can room list or employee list. It is flexible
- Appointment time slow are usually set from 10AM to 10PM half hourly basis. The time slot can be changed or modify upon request. But only enterprise license has this function.
STEP 3: Creating new appointment
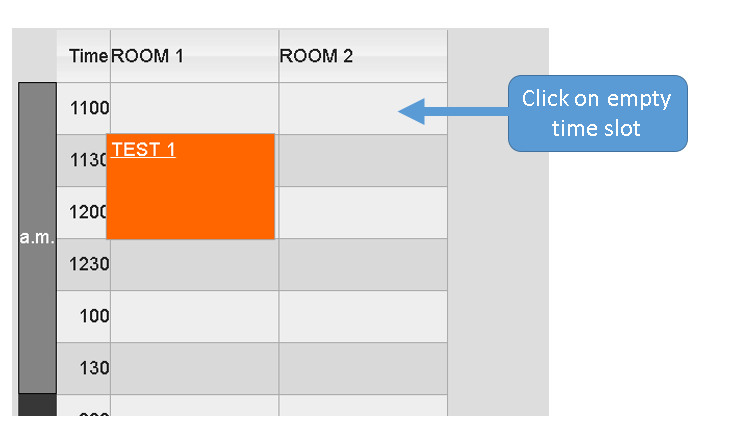
Click on any empty time slot to bring up the appointment details
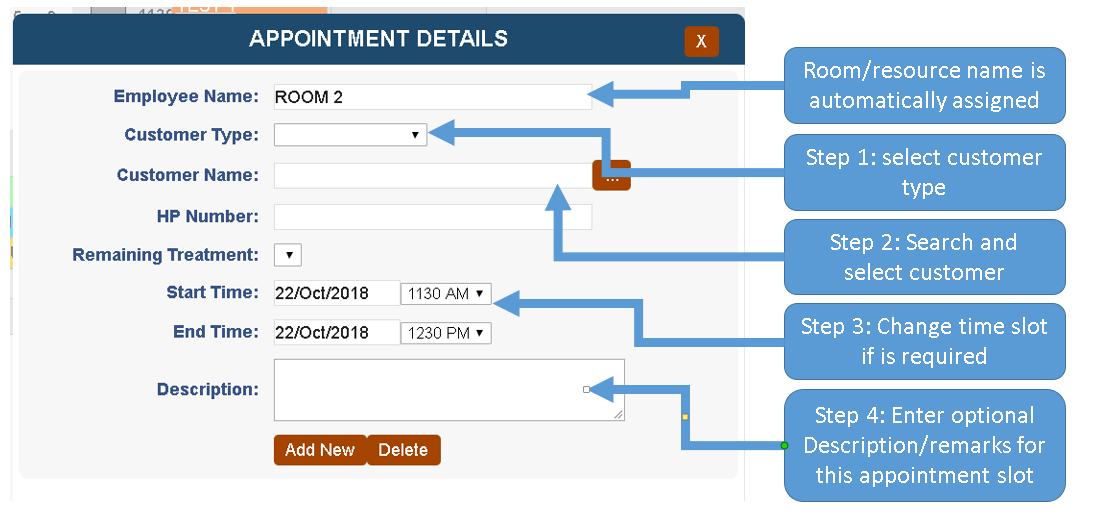
Follow Step 1 to 4 to enter appointment details
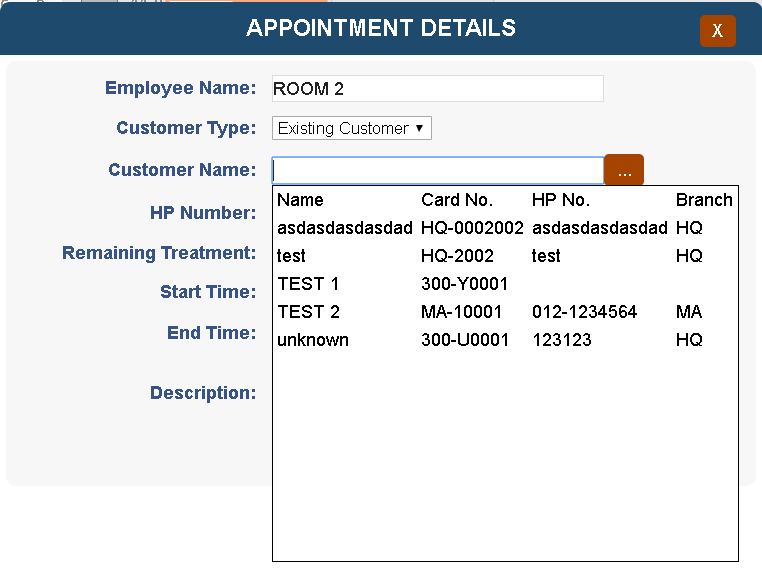
Search by Customer name, card no or hp no.
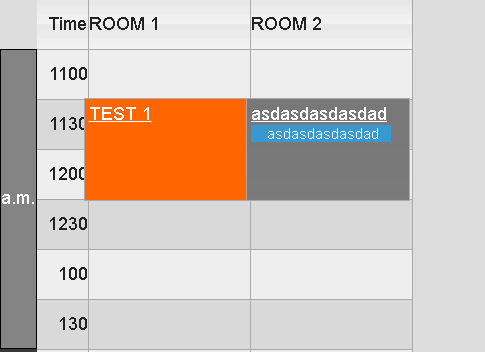
Click Add New to Add the appointment, the appointment time slot should become like below
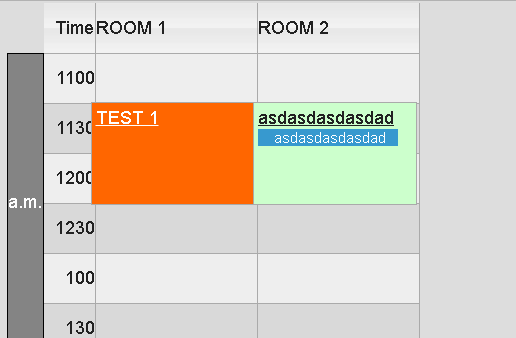
The name and also contact number will be displayed on the appointment box. There there is remarks, it will be displayed under the contact number.
STEP 4: Update Appointment status
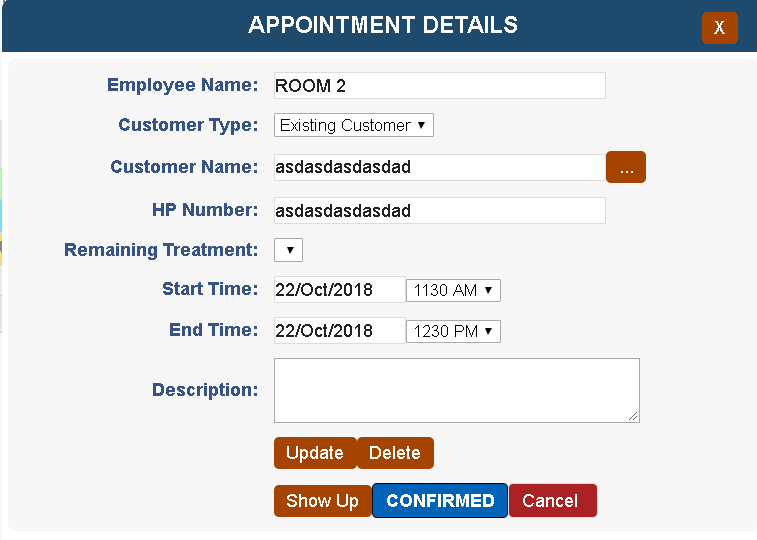
Once an appointment is added, you can update the appointment by changing time slot, customer details and etc. (currently changing resource is not allowed) you need to delete and add again
Click Show up , confirmed and cancel for next status change. Click show up for next appointment status.
STEP 5: Customer Show up and Post Treatment follow up
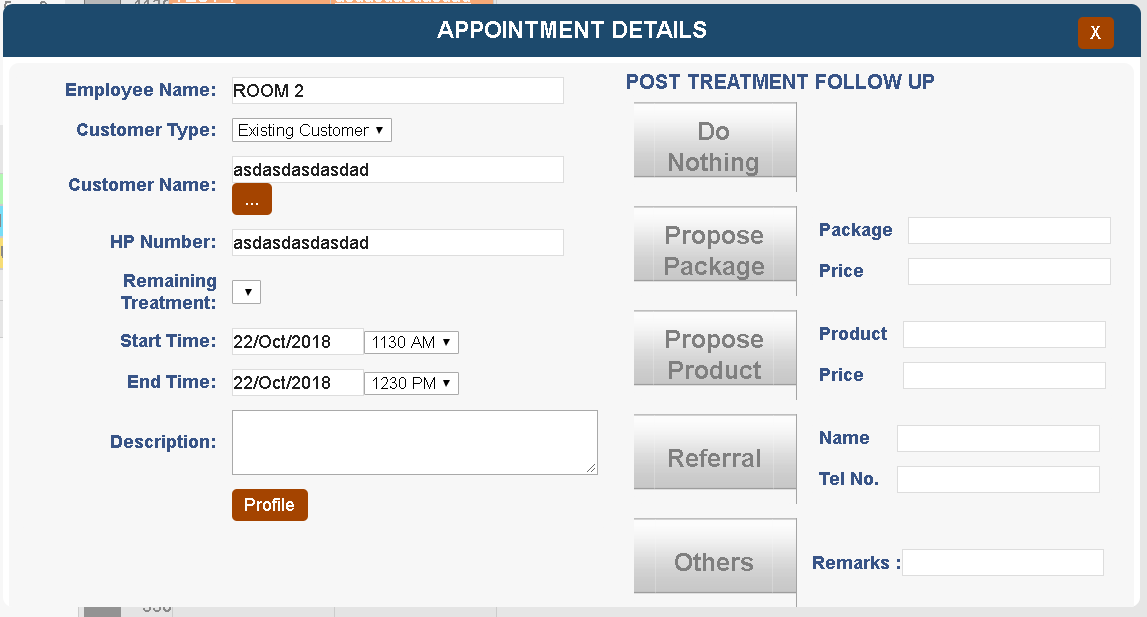
Once customer is show up, user can click either 1 of the action for post treatment follow up options. This action will be recorded into employee follow up action and counted their month KPI.
Once the appointment is done (after selecting option of post treatment), the system will lock the appointment and will not allow further changes
This will complete the whole appointment cycle for existing customer.
STEP 6: Creating new customer profile for customer.
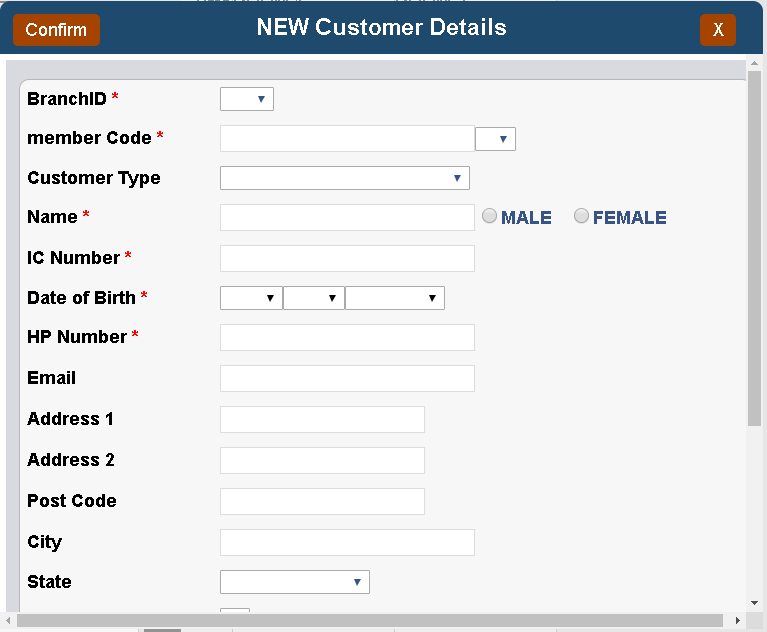
after clicking on show up for NEW CUSTOMER. This interface will be displayed. Enter all necessary customer details then click confirm button on top left to save and show up appointment.
Miscellaneous
A profile button will be available once appointment has become show up. The profile function exactly same like customer sales, except it cannot browser and search other customer. This can be a method of managed by Appointment.